 Based on a heritage site where Edwin Beard Budding invented the lawnmower in 1830 and the adjustable spanner in 1842, lmpcross Ltd is a manufacturer that continues this tradition; branding its business as a ‘world class centre of specialist precision engineering excellence’. Whilst countless subcontract manufacturers will market themselves in such a fashion, the 100+ employee aerospace subcontractor genuinely is ‘world class’.
Boasting a client list that includes world renowned aerospace OEM’s such as Safran, GE, UTC, Messier Dowty, BAe Systems, NSK, Honeywell and Rolls-Royce to name a few, the Stroud based manufacturer has always invested heavily in leading machine tool brands such as Mazak, Matsuura, Hitachi Seiki, Schaublin, Delapena and Studer. Since its inception back in 1994 there is one brand that has always remained a constant for the Gloucestershire Company, metrology partner Mitutoyo.
Located on a 55,000sq/ft facility, the company has a rich history of manufacturing high-end components for the military, aerospace, F1, petro-chemical and motor sport industries with a workflow that has, historically, been 75% prototype and small batch runs with 25% of production being long-run work. However, the appointment of a new CEO to the family business, a strategic re-alignment and further investment has seen the company rapidly realize its aims of becoming 25% prototype and 75% production oriented whilst purely targeting the aerospace OEM sector – a strategy that is clearly paying dividends with staff levels almost doubling in just 5 years.
To achieve long-term partnerships with the aerospace OEMs, lmpcross has a long list of aerospace OEM accreditations as well as IS0:9001, NADCAP Chemical Processing and NOT accreditation and AS:9100 Revision D. Underpinning these accreditations is a lengthy plant list of Mitutoyo metrology equipment and quality management systems.
Commenting upon the partnership with Mitutoyo, lmpcross Operations Director, Mr Steve Arnold says: “Not only has lmpcross worked with Mitutoyo since its inception, my father and company founder Richard Arnold previously owned another business and he’s worked with Mitutoyo since the 1960’s. Mitutoyo has always served us with distinction, always had the technology to efficiently serve our needs, and as the industry and technology has evolved, Mitutoyo has always been at our side.”
The plant list…
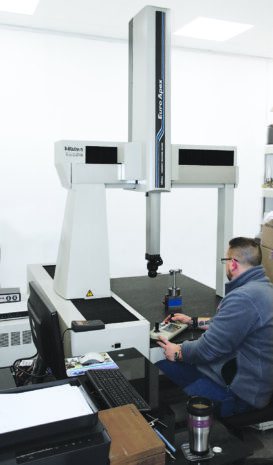
lmpcross is particularly proud of its employee retention rate with many of the staff in the metrology department serving an average of 20 years service. Like the dedicated staff, Mitutoyo has served lmpcross with distinction. The company has two Co-ordinate Measuring Machines (CMMs), the BHN 706 and Euro C 7106 that have been on-site for 18 and 24 years respectively. With continual software updates, regular calibration and maintenance programs the two CMMs are still used daily. With ongoing growth, lmpcross is expecting imminent delivery of a third CMM, a Crysta Apex S7106.
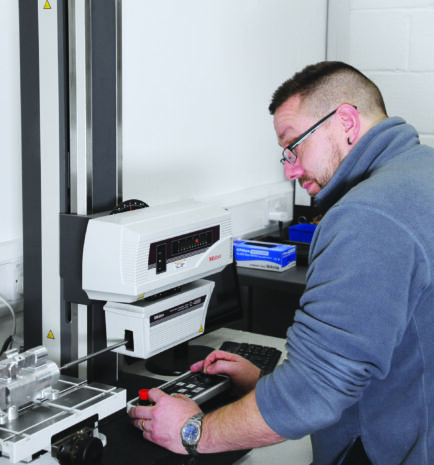
Alongside the CMM’s are Linear Height 600, 2D Motorised Height Gauges, two PJ300 Profile Projectors, numerous Mitutoyo Digital Bore Gauges, the Mitutoyo SJ401 Surface Measuring Equipment, the Surf-Test 211, a Contracer CV4500H4 a Roundtest RA2200AH, laser scan micrometers and much more.
On a monthly basis, the Gloucestershire company will manufacture and first-off inspect over 500 different component types for its extensive customer base. To manufacture such a large variation of complex large-batch components, the company runs its machine shop and metrology department 24/5 with full traceability on its production and quality procedures.
Demonstrating the importance of Mitutoyo
Two years ago, lmpcross won a contract to manufacture reverse thrust valve housings for a defense customer. To reduce weight, the housings are manufactured from aluminum. A critical feature on the housing is a thread that connects to a hose with a through pressure of 5000psi. Producing an aluminum part capable of accepting such pressure, the customer developed a unique thread geometry that was developed in conjunction with its tooling supplier prior to awarding the contract to lmpcross. With thread forms tied to a tolerance less than 50 microns, the OEM aerospace customer also supplied lmpcross with a Mitutoyo Contracer CV-4500 to measure the thread forms.
“We work in partnership with our clients and this particular OEM customer even provided the Mitutoyo Contracer to guarantee conformity. From a conformity perspective, our Mitutoyo metrology equipment provides comprehensive reporting and many of our OEM partners also use Mitutoyo equipment, so they are all too familiar with the format, quality, consistency and reliability of the Mitutoyo reporting system. This particular housing is a critical aircraft component and the Contracer CV-4500 is responsible for checking every housing,” says Steven Arnold.
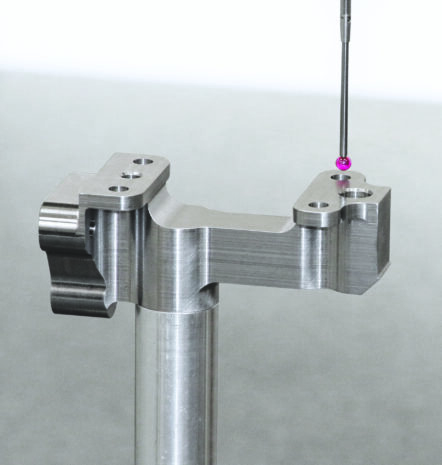
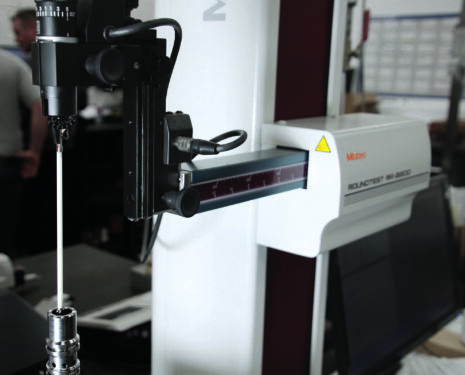
Another extremely critical component manufactured by lmpcross is a valve sleeve guide that works in conjunction with the thrust valve housing. The stainless-steel sleeve guide has a cylindricity and parallelism tolerance in the bore of 1.2microns over the 127. 7mm length with a surface finish tolerance of 0.006 to 0.008mm, or 2microns. Machining a valve sleeve with a bore tolerance of 1.2microns and a surface finish of 2microns is a difficult task, something compounded by externally turned features that are all tied to a tolerance of 5 microns. Machining parts to such tight tolerances emphasizes the capability of lmpcross. However, this is not just a one-off job, lmpcross manufactures 200+ sleeve guides every month. Inspecting these parts would have been impossible without the Mitutoyo Roundtest RA2200.
Commenting upon this challenging component, lmpcross Quality Inspector Mr Matt Coopey says: “The sleeve guides are extremely challenging parts, but tight tolerance work beyond the remit of most manufacturers is our day-to-day job. The Roundtest RA2200 is the best product in the market that can measure these parts with an efficiency that enables us to produce hundreds of parts each month and inspect 100% of parts.”
Mitutoyo delivers inspection efficiency
With such high production output and impeccable quality control processes that encompass SPC, CPK production, Lean, Kaizen and continuous improvement programs, the quality assurance department has to be as slick as the shop-floor production. Referring to this, Mr Arnold continues: ”All our metrology equipment utilizes the latest software updates from Mitutoyo and there is complete conformity between our equipment, processes and reporting. Furthermore, we have the MCOSMOS CAT 1000 software integrated into our Mitutoyo metrology equipment. This means we can download the CAD/ CAM files for components from our servers directly to the Mitutoyo machines. In the case of the CMMs, we can download the model directly from our CAM software and set the datum’s on the CMM according to our models.”
“This integration is a critical feature for the productivity of our metrology department. We have won an order for a family of gyroscope components for the defense industry high volume in batches of 50,000. To process the high volume of parts, our CMMs will use a grid fixture plate and apply SPC to record data for our client. The CMM’s will regularly check more than 50 parts an hour and run 24 hours a day. With two existing CMMs that are 20 years old, this demonstrates the reliability and capability of the Mitutoyo product lines. The new CMM on-order has been purchased to alleviate capacity issues, not replace the existing CMMs.”
”As a business, we have written our own quality software, designed failure out of processes so we can quote with intelligence, and we risk analyze and manage every process. As a business that ‘captures data’ at every level, the Mitutoyo equipment has been integral to the success of our business. Mitutoyo has been such a reliable, consistent and high-quality supplier for so many years, we take their service and support levels for granted. What is equally important is that our aerospace OEM clients are filled with confidence as soon as they know we have a quality assurance department filled with Mitutoyo equipment,” concludes Steven Arnold.
