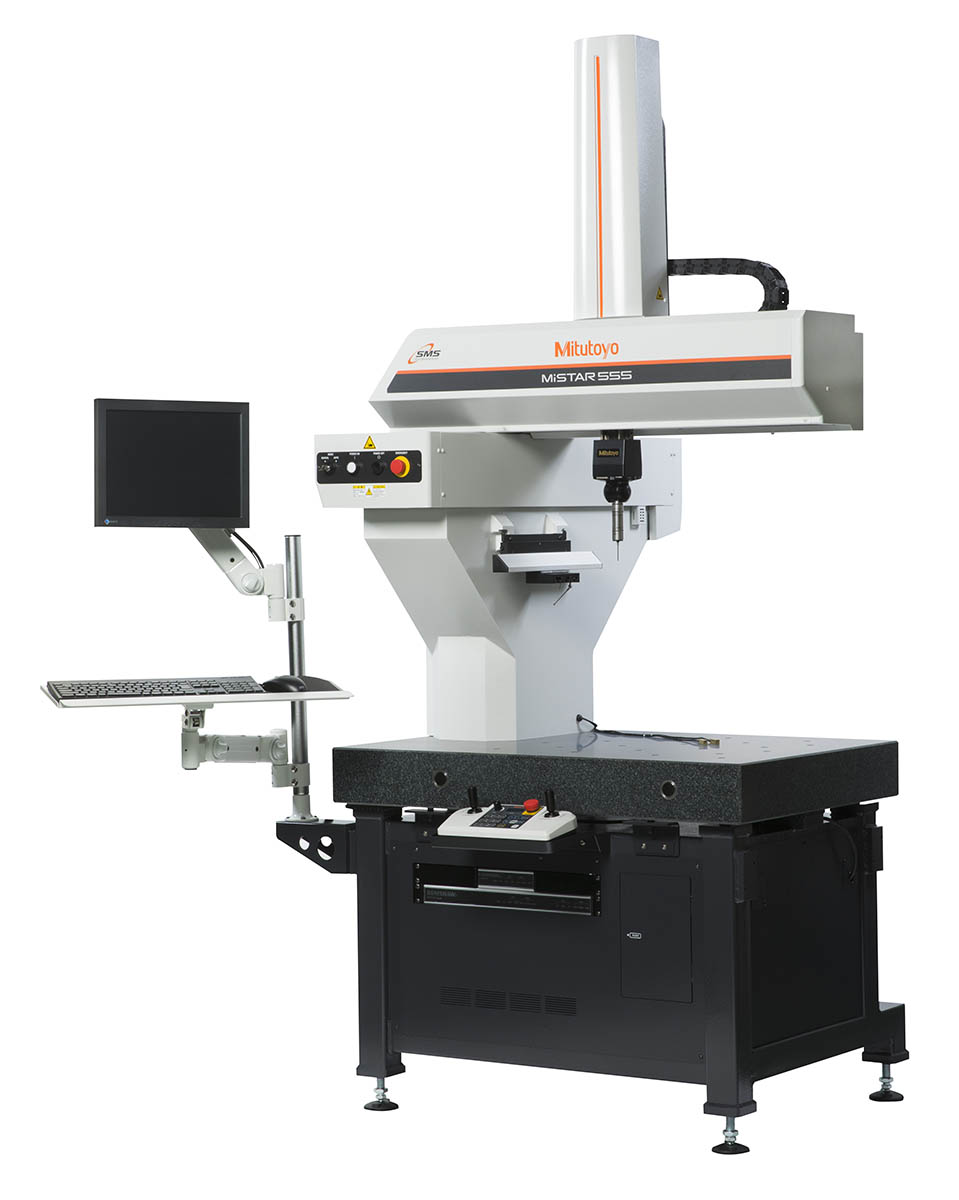
Shop Floor Precision Measurement
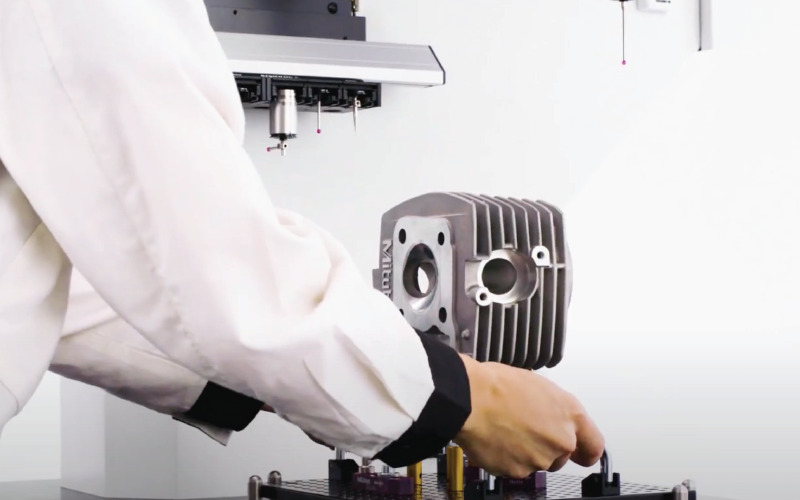
Versatility & Usability
Experience unprecedented versatility and usability with the Mitutoyo MiSTAR 555 CMM. Designed for any size shop floor, it brings precision measurements almost anywhere for anyone.
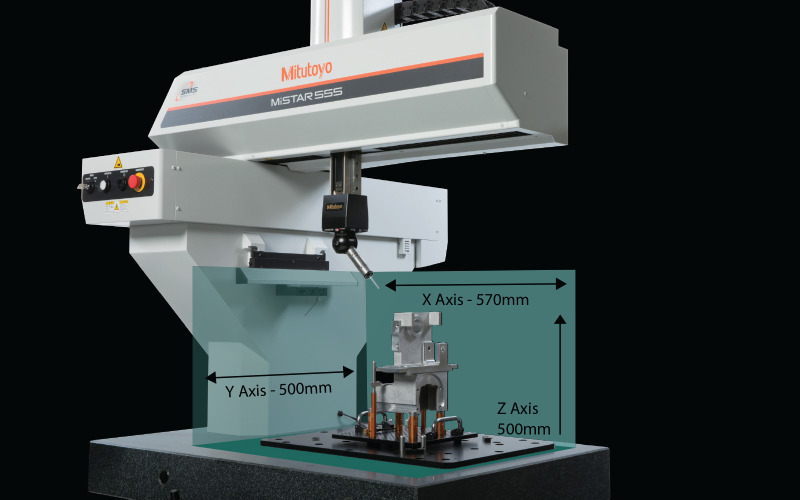
Compact Design
The MiSTAR’s single support moving bridge and storage cabinet for machine controllers under the measuring table reduces the footprint by about 70% compared to conventional models.”
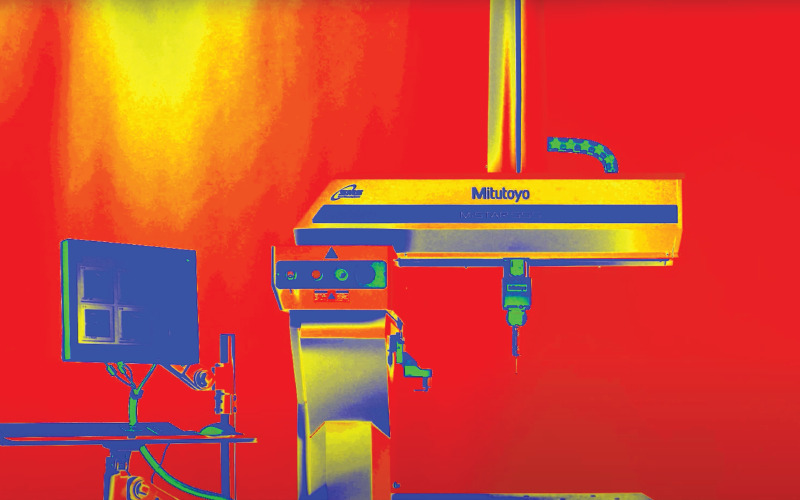
Guaranteed Temperature Accuracy
Trust in reliable measurements under various operating conditions. The Mitutoyo MiSTAR 555 CMM offers a guaranteed temperature accuracy range of 10 to 40ºC.
Shop Floor Inspections Like None Other
The innovative design of the MiSTAR 555 CMM makes it the superstar of precision measurements on the shop floor. From the open, three-sided structure to many groundbreaking functions and features, the MiSTAR 555 is easily integrated for in-line or near-line measurements that you can trust.
The 3-sided open structure allows operators to easily access the measuring area from three sides. This is particularly beneficial in busy shop floor environments where space and accessibility might be limited. Operators can load and unload workpieces swiftly and effortlessly, thus reducing the time taken per measurement cycle. This is crucial for maintaining high throughput and efficiency on the shop floor.
The open design also provides flexibility in handling different sizes and shapes of workpieces including larger or awkwardly shaped items with ease. The open architecture can accommodate larger or awkwardly shaped items with ease. With easier access and operation, the workflow around the CMM is streamlined.
The 3-sided design, along with Mitutoyo’s proprietary Smart Measuring System (SMS), also makes the MiSTAR 555 ideal to be integrated with robots for automatic measurements for even better, more efficient throughput without the need for constant monitoring.
All of these advantages combine to make the Mitutoyo MiSTAR 555 CMM a user-friendly, efficient, and flexible solution for precision measurement on the shop floor, catering to a wide range of applications and industries.
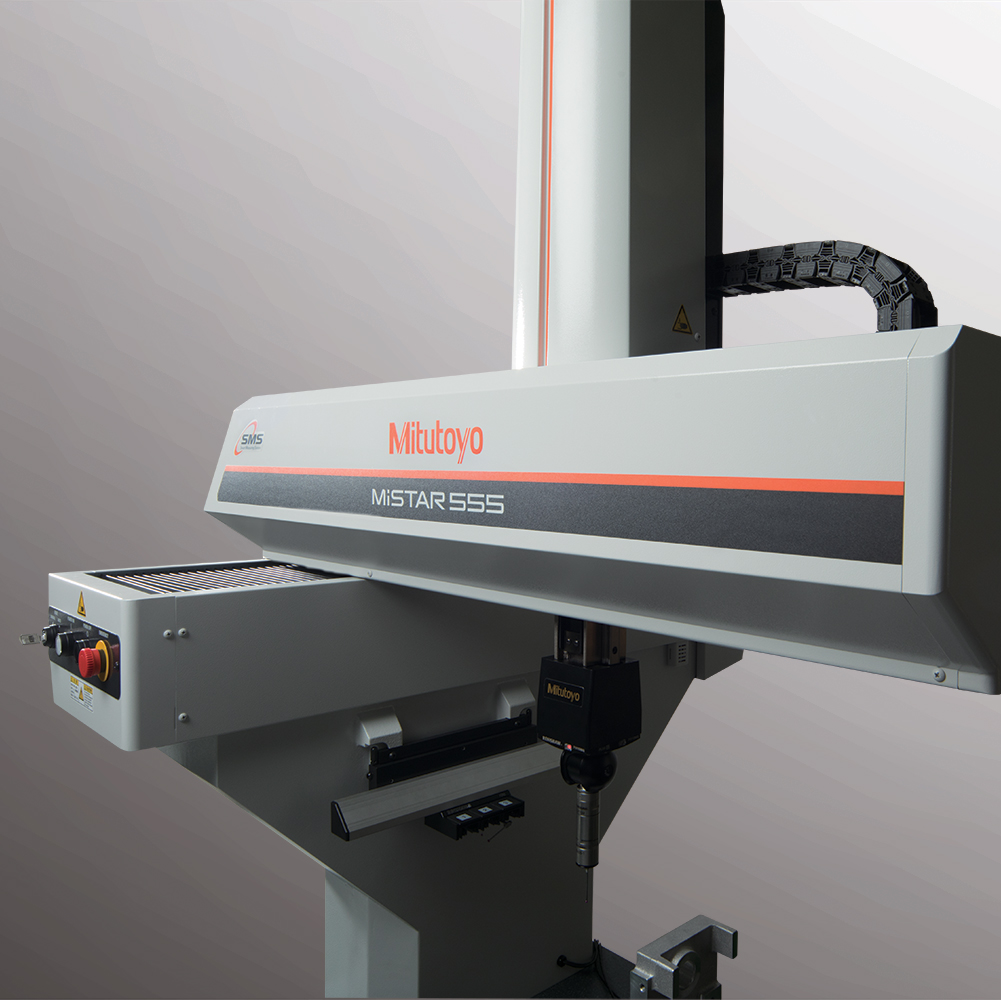
Compact Footprint
The MiSTAR 555 CMM is designed to fit where you need it. Its single support moving bridge, along with a storage cabinet for machine controllers under the measuring table, reduces the CMM’s footprint to about 70% compared to a conventional moving bridge model. The MiSTAR 555 also operates off of conventional 120 volts and does not require any compressed air to operate.
Unprecedented Accuracy & Durability
Shop floor precision is inconsequential if the CMM can’t handle the environment it operates in, and the MiSTAR 555 definitely meets that challenge by combining its symmetric structure, uniform materials of the machine and excellent temperature compensation. This delivers a guaranteed temperature accuracy range of 10 to 40˚ C for highly accurate measurements without the need of a clean room. The new Mitutoyo ABSOLUTE scale also provides twice the contamination resistance of other CMMs for even better durability.

